Finally got a fixture table!

I’m a small time fabricator in my 50’s. I’ve been making signs and the occasional table or something with my CNC plasma cutter for about 15 years, but I’ve been just ITCHING to get a fixture table ever since I started watching Jason’s videos on YouTube. Now I’m pretty broke these days so I can’t afford something like a Fireball table but I really enjoy working with metal so I do what I can. About 12 years ago I was gifted a 4x6 sheet of 1" steel plate so I made a welding table. It had a pretty big bow in the middle, but I made do with it for all these years. Clamping to the edge of the table like a caveman… Here’s a pic of what it “used” to look like.

I found a friend with a laser cutter that said if I paid for the steel, and traded him some old Willys jeep parts, he’d cut me some holes in it for me. He said he could cut 1/2" steel with his laser. I like my 1" top, but I’ve really never had a time where I thought, “Golly, I’m glad my top is 1” thick!" so I took him up on his offer and had him cut a 48"x 72" sheet of 1/2" thick steel with 805 5/8" holes set on a 2" grid pattern. After about a week, he told me it was done. I pulled off the 1" thick top to make room for the new sheet.


Using a skid steer with forks, the new top was on in a jiffy!

I have actually lost sleep over this next part… I really wanted to use Fireball fixtures. I love the tooth block design and the 2 pin design of the fence blocks, but was literally terrified that the fence blocks weren’t going to fit. I had heard Jason mention once that spacing should be in the +/-.002 range and my laser guy says his table has a tolerance of about +/-.005 so I was very worried that I was going to have a table that would have great clamping abilities, but not be able to use the Fireball fence blocks (Well, with two pins at least) I also really like his larger fence blocks and the ability to use them in a 45 degree setup but again… terrified they wouldn’t work.
So first test… do I really have a 2" grid pattern…?
Yes! they fit great!

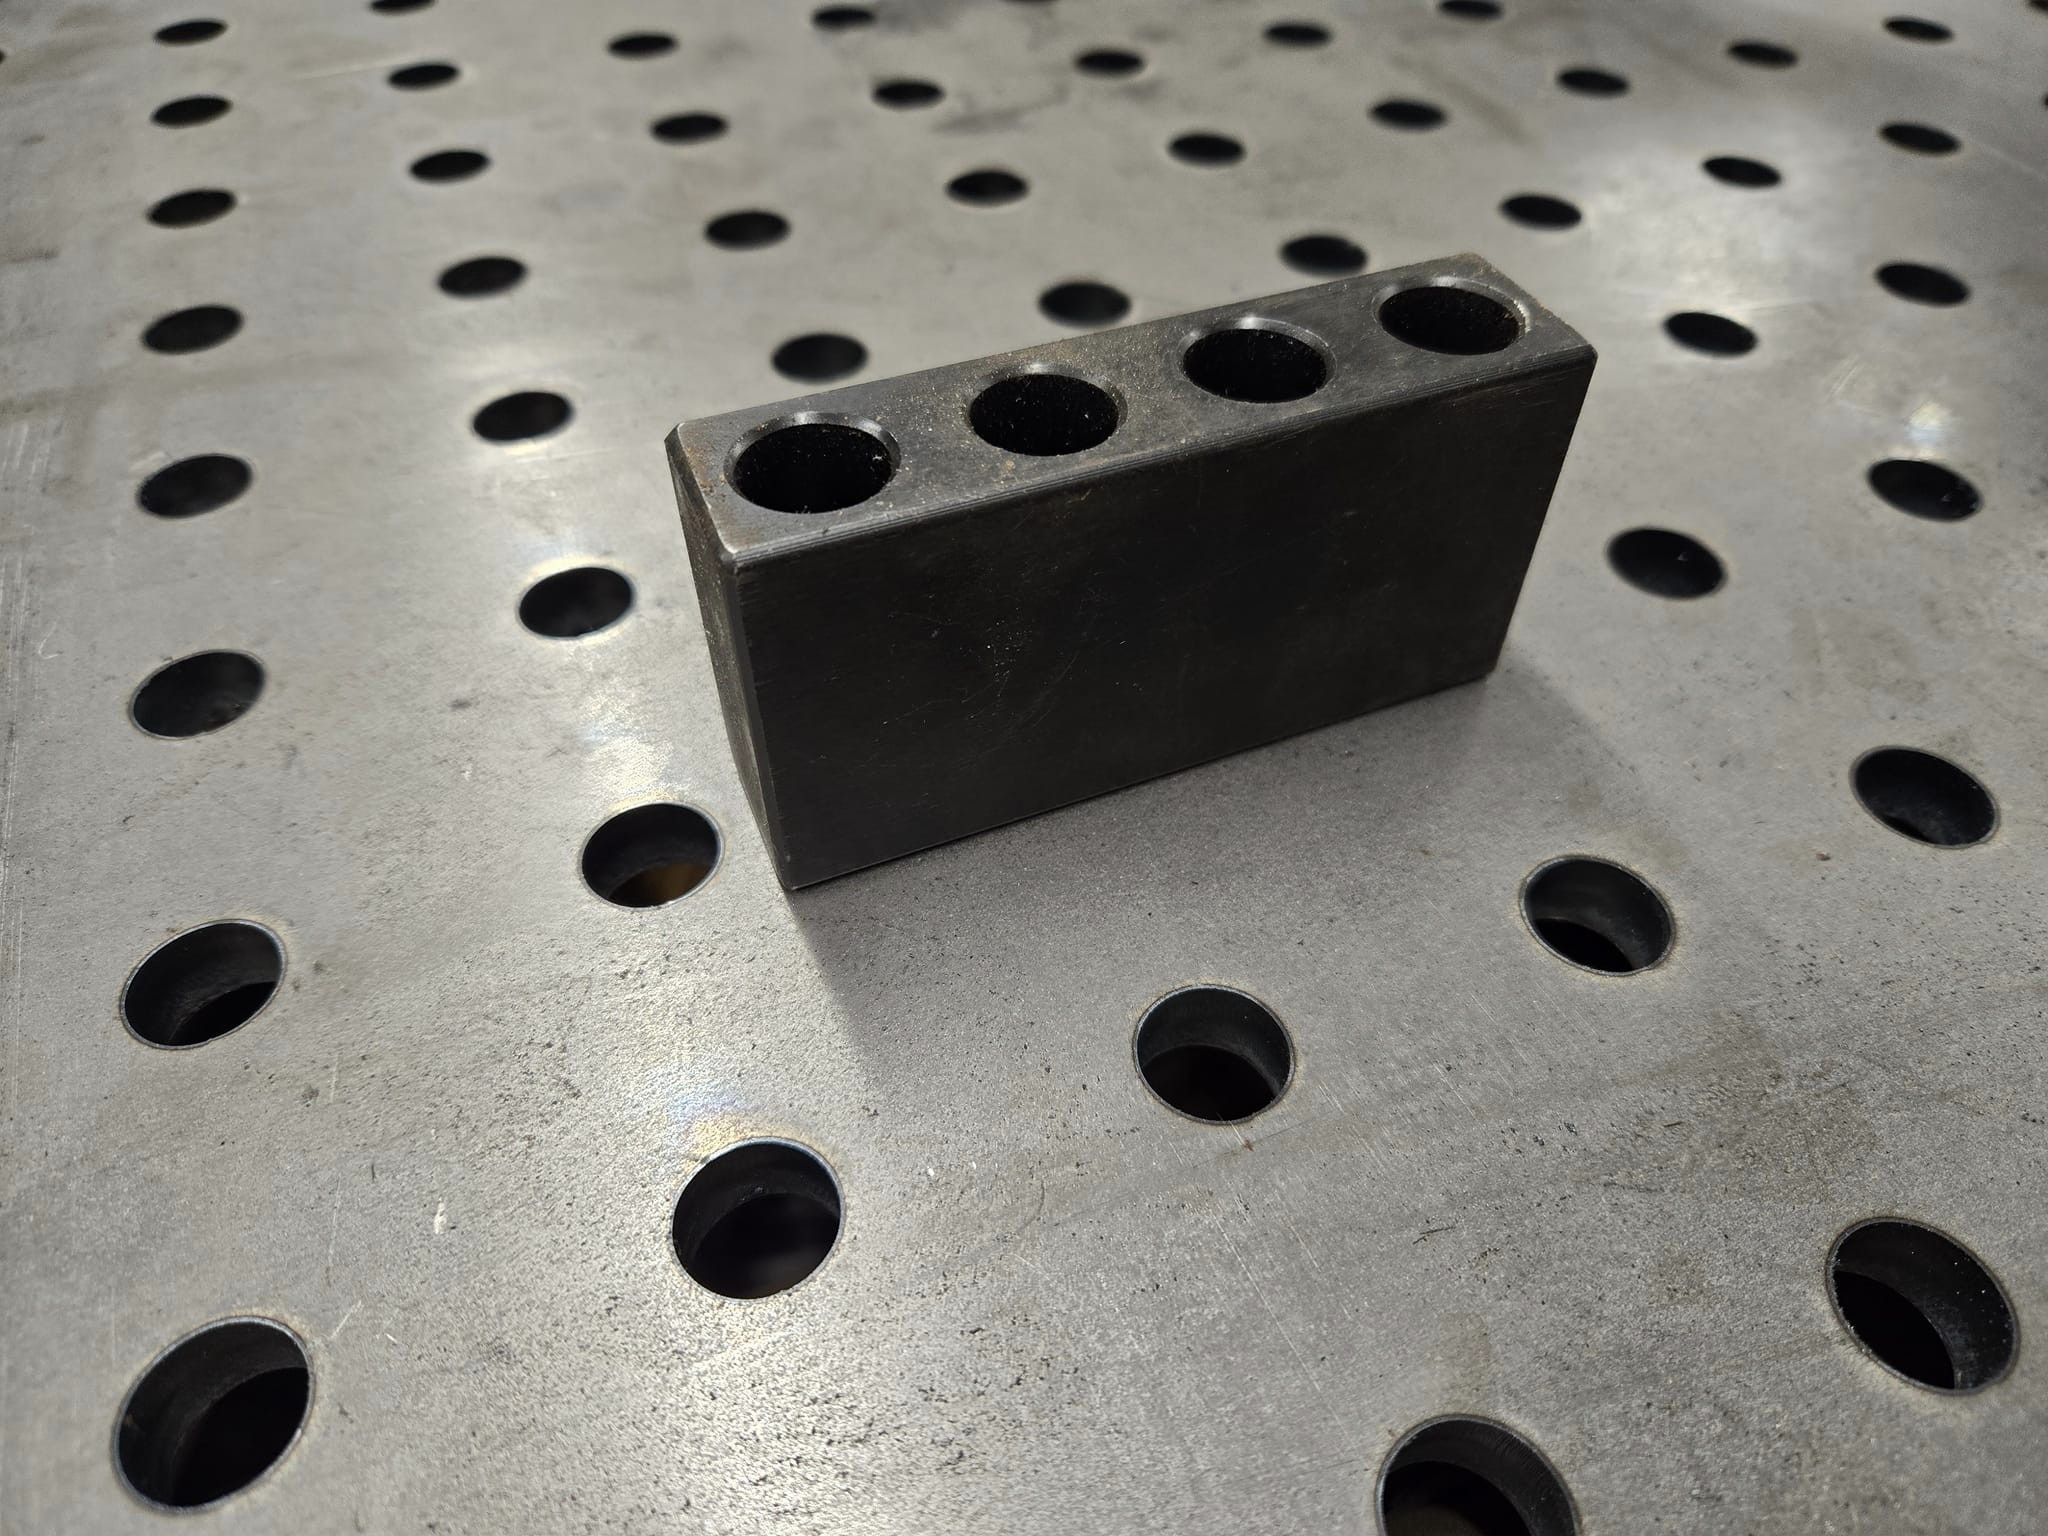
Next test, can I use the FBT long fence blocks on a 45 degree…?
Yes! They fit great also! I guess lasers do actually work!

I’m assuming these are going to be my bread and butter fixtures for the stuff I’ll be making.

Now for flatness. With my old 1" top, it had about a 1/4" gap over the 6’ span. I didn’t like it, but I made it work. Honestly, if I could make this ANY better than that, I’d be happy. I set my 6’ level on the 4’ side. It was flat. Now I didn’t get out the feeler gauges, but the level didn’t wobble anything noticeable so I was very happy with that.
Over the 6’ length, things were different. There was almost an 1/8" of wobble on the level. Many years ago, I tried to pull my old 1" sheet with clamps and bolts, but it wouldn’t budge.
Now, I was hoping I could pull this 1/2" sheet into place if I needed to, so I tried putting a clamp underneath and was able to pull it perfectly into place! Again… I didn’t get out the feeler gauges, but if my 6’ level looks good, I’m happy! I’ll weld on a nut or something to make it more permanent.


I also made a rolling cart for my fixtures and clamps. I looked at a bunch of different designs for storage and really liked the design Jason had, so I based it on his design. I don’t have too many fixtures yet, but I hope to change that in the future.


5 Likes

Great Story! I think the 1/2 plate will be just fine. Every time you use the table system you’re going to say” why didn’t I get a fixture table sooner”. We look forward to seeing what future projects you come up with. I like the cart too. It’s going to get loaded with stuff. I like the open box design, it’s so easy and fast to grab and put stuff back in it’s home instead of hanging out on the table top.

1 Like

You can never have too many Fireball fixtures. They’re really all great. That set you got is a great start and more or less close to what I’ve currently got but once I have some extra funds I’ll be adding more tooth blocks and getting some of the 6x2 diagonal ones and some more clamps.

Those Mantis grips are really great, too. I bought a few of them almost on a whim thinking they would come in handy sometimes but I end up using them on pretty much every project in some way.

1 Like

Yeah, while doing research for fixture storage, I read on this forum something like “coarse sorting” and it struck a chord with me. I think the open bin design is a great idea for fixture storage.

1 Like

Thanks, I need some more clamping options too. I’m going to get some Mantis grip pliers and inserta pliers next!

1 Like

Was probably me that mentioned coarse sorting, I’ve been using the term for years. I yearn for perfect little cutouts for everything, but in reality I need things to be super fast to put away so I don’t put off cleanup, thus, coarse sorting into bins of similar parts or tools that allows me to find what I need pretty quickly, but put things away VERY quickly.

Nice setup you’ve got there, I’d love to have that much space. Have you had a chance to measure the hole diameters and spacing? I know you said all the blocks fit well, I’m wondering if the laser cut the holes a couple thousandths oversized and helped give you a little extra wiggle room so everything slots into the holes nicely? It’s also possible that in the relatively short distance between holes that the fixtures slot into, the laser is just plenty accurate enough to make the fixtures work, and the holes cut cleanly enough not to loose much clearance due to taper, ridges in the cut edge, or slag.

That came out very nice! you can be proud of that

1 Like

No I haven’t tried to measure anything yet. The fixtures don’t “fall” in, they fit just a little tight, but don’t have to be pounded in. I’ll try to measure them.

2 Likes

Either way, sounds like you hit the jackpot for fit. Nice work.

What brand and power of laser did the cutting (if you know)?

1 Like

It’s a Trump 2600W.

Most likely a Trumpf and autocorrect doesn’t speak German. The holes cut well for 2600W, do you know if it’s CO² or fiber laser? I used to run a 4kW Mazak CO² tube laser forever ago, and always envied the sheet laser guys and how simple their cut conditions seemed to be compared to cutting tubes, especially thick small cross section square tubes.

lol, yes there is an F in there! I didn’t even look at that post. I know he said they ran out of oxygen for it and had to get more. Not sure what type of laser that means it is though.

Probably a CO² laser. Oxygen is used as an assist/shielding gas when cutting mild steel.

2 Likes

Glorious!!! But I feel a GD&T attack coming on… Many concerns about hole spacing problems could be set aside by using a “Hole and Slot” combination to locate and secure fixture blocks to the table grid.
Consider: In concept or CAD on-size pins and holes always line up and (even line-to-line) pins fit. In reality you need a little clearance or you’ll be hammering the pin through even a single layer of hole. So a 3/4 pin needs two layers (a hole pair) of 0.75+ holes to slip into. That’s the first hole pair… The second pair of holes must be big enough (0.75+) to pass the pin but what if either one of the second hole pair is a little out-of-position? Get out the rat tail file? Or the (precision) reamer?..

More later…

Making the holes larger is a GD&T thing sometimes called “bonus tolerance provided by departure from Maximum Material Condition” (abbreviated “MMC”). But if all the holes are made large enough that the pins will always pass through the hole pairs the fixture block will “float” around, not so good for locating parts.
A compromise, having fixture blocks with one hole only large enough to pass any of your pins and the other actually made as a short slot, will accommodate as much variation in hole locations as the the slot is longer than the diameter.
I know, hole and slotted fixture blocks cost more to make than double hole blocks but if your table’s hole grid is a little “fuzzy” slotted blocks might be an answer.

Jason: What would be the price difference for Hole and Slot blocks vs double hole blocks? Would you ever consider marketing them?

Congrats. It looks fantastic.

This is exactly the table I have in mind to build. Yours turned out great! Glad to know 1/2" thick plate works well. I was on the fence about it being too thin.

Draw me a picture of your idea of a hole and slot block. I’m not quite sure I understand how that would work.

I have a question about your frame design, In the pic is shows a gap between the table top and the rail. Did you top sit directly on top of the rails or was is spaced slightly above?
Reason I ask is that rail if under a row of holes, it would interfere with tooling when used in those holes.

Yes there is a space between the underside of the table top and the frame of the table. I had 1/2” spacers but that still interfered with the tacking bolts so I upped it to 1” spacers. Yes, I know I still can’t use some long pin tooling like the cantilever clamp in holes that have table frame below it, but I don’t have any long pin tooling yet, and i probably have plenty of other holes to use if I needed to.

I have also removed these clamps pictured and welded on adjustable mounts to the underside of the table to pull the top flat and keep it in place.

1 Like

If you find time I would love to see a pic of the bottom side of how you fastened the top down