Hey guys
I recently posted a new video about a few ways to customize your DIY Fixture Table that really step things up a notch in terms of customization and comfort. I’m going to show you how to add the Sidekick Vise and Dragon Wagon Seat to this DIY table.
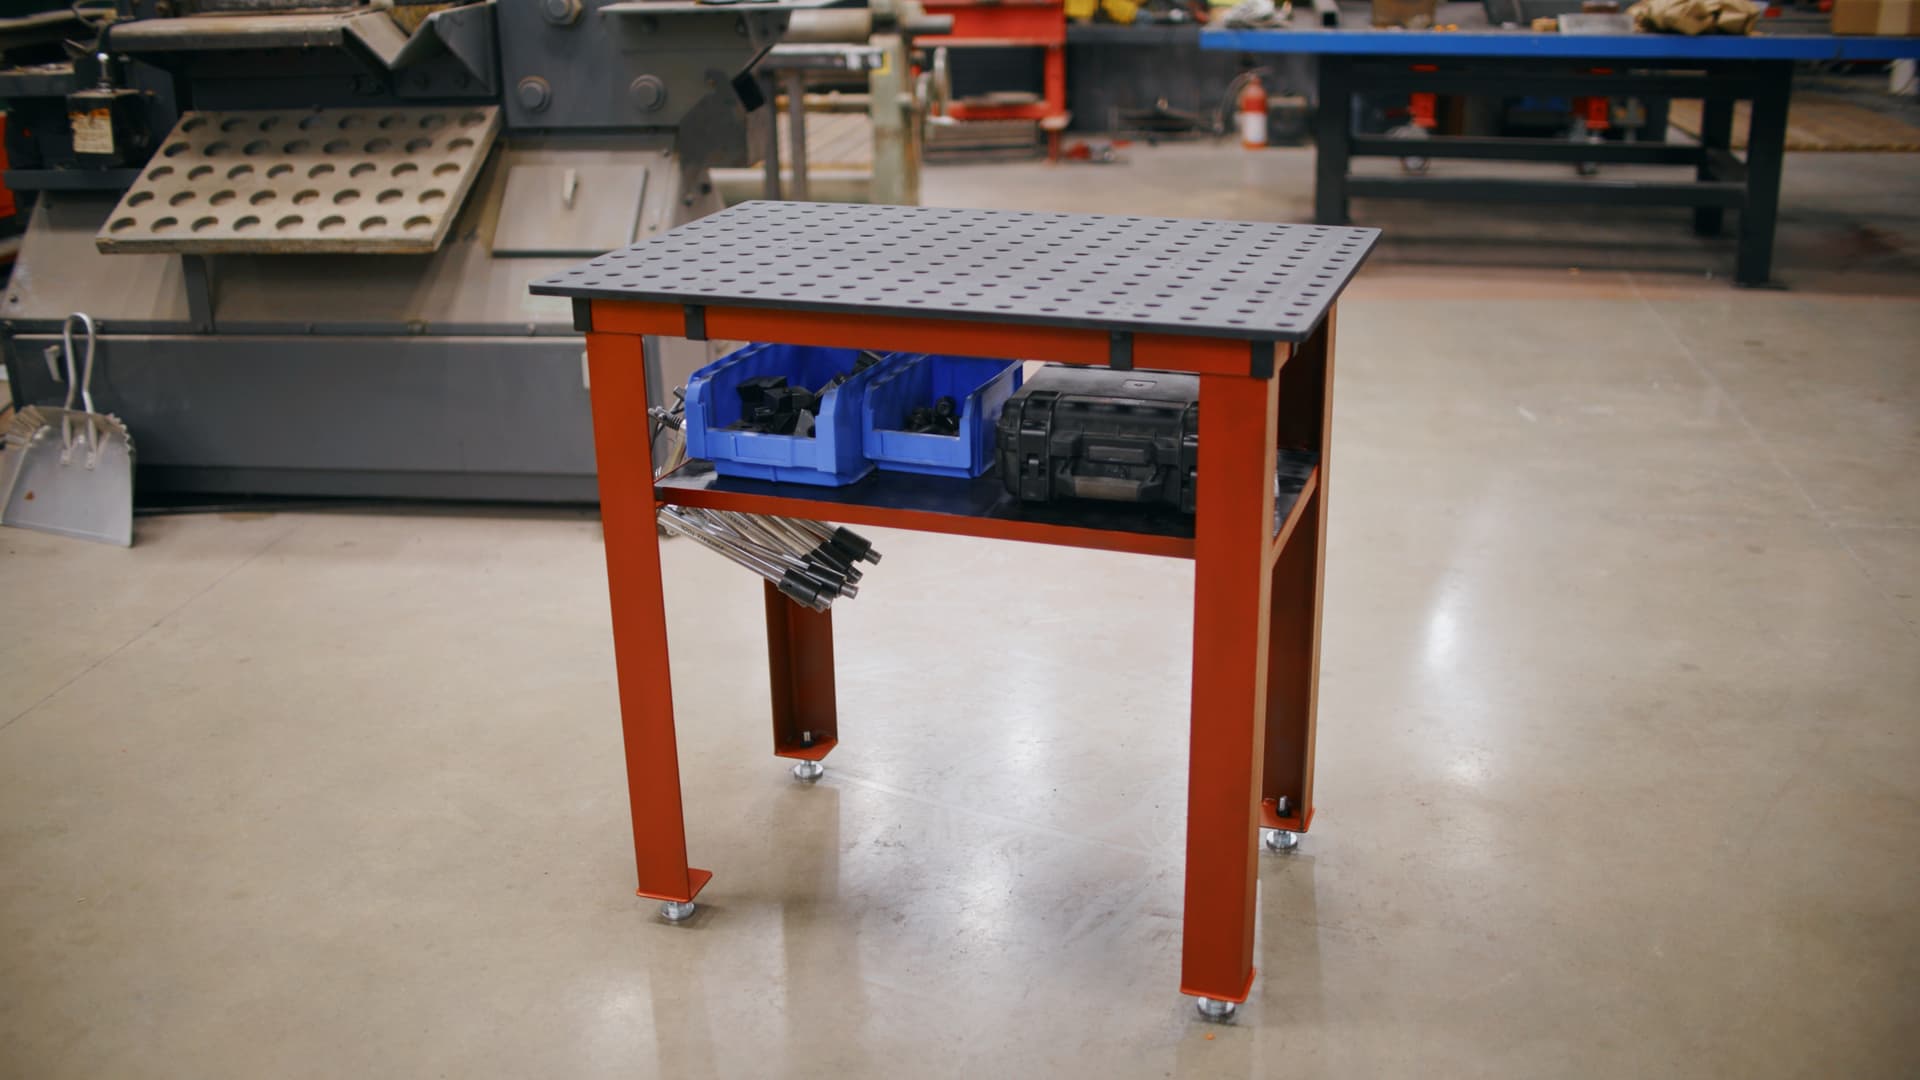
If you’re already running one of our DIY tables, you know it’s a solid entry level option into the world of fixture tables. It’s ground flat, mechanically fastened, and milled. That all adds up to a table that’s accurate, rugged, and affordable. But what really makes this table shine is how easy it is to customize it for your workflow.
The Sidekick Vise

I mounted one of our Sidekick Vises to the side using the Side Vise Spacer Block. This block lets you bolt, weld, or mount the vise to just about anything, not just tables. It’s got a milled relief so it won’t interfere with the tooling underneath, and you can move it around the perimeter as long as you avoid the strap.

After grinding off the paint, I used our Mantis Pliers to hold it in place and welded it to the side of the table.

You’ll need the shorter bolts that come with the Side Vise Spacer instead of the ones that come with the Sidekick Vise, but once it’s mounted, it works great.

This vise is perfect for grinding, finishing, and holding odd shaped parts.

The low profile keeps the top surface clear, and with some stepped pins and creative use of the three-point clamping method, you can handle weird shapes, tubes, curves, whatever you need.

Just keep in mind that this vise is not meant to be beaten on.
The Dragon Wagon Seat
Here’s the other big upgrade. I decided to add the Dragon Wagon Seat directly to the DIY table. I was tired of my chair disappearing every time I wanted to sit down and TIG weld. This setup will solve that.
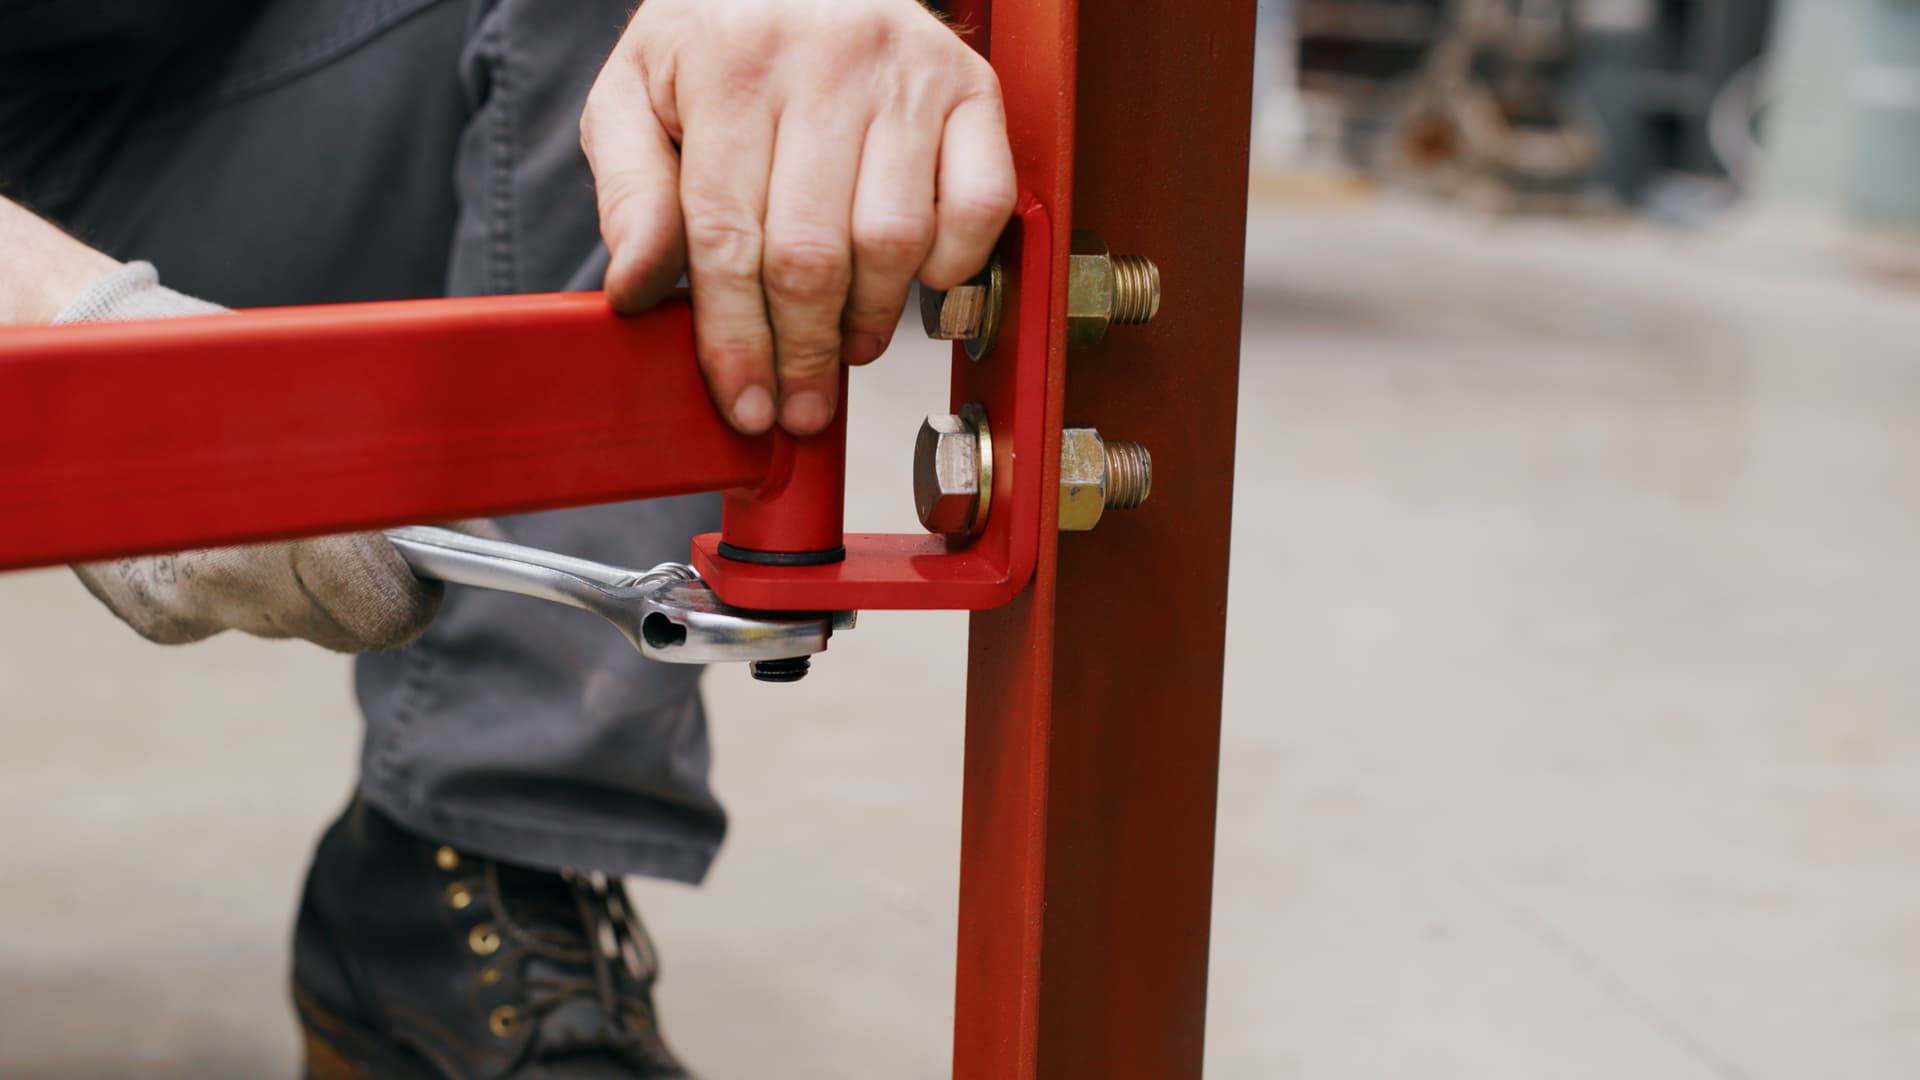
I mounted the seat by drilling two ¾” holes, 2” apart and 16” from the bottom of the leg.

Then I bolted the bracket that comes with the Dragon Wagon Seat to the leg of the table. If you go this route, you will need to provide your own bolts, nuts, and washers for mounting the bracket to the leg.

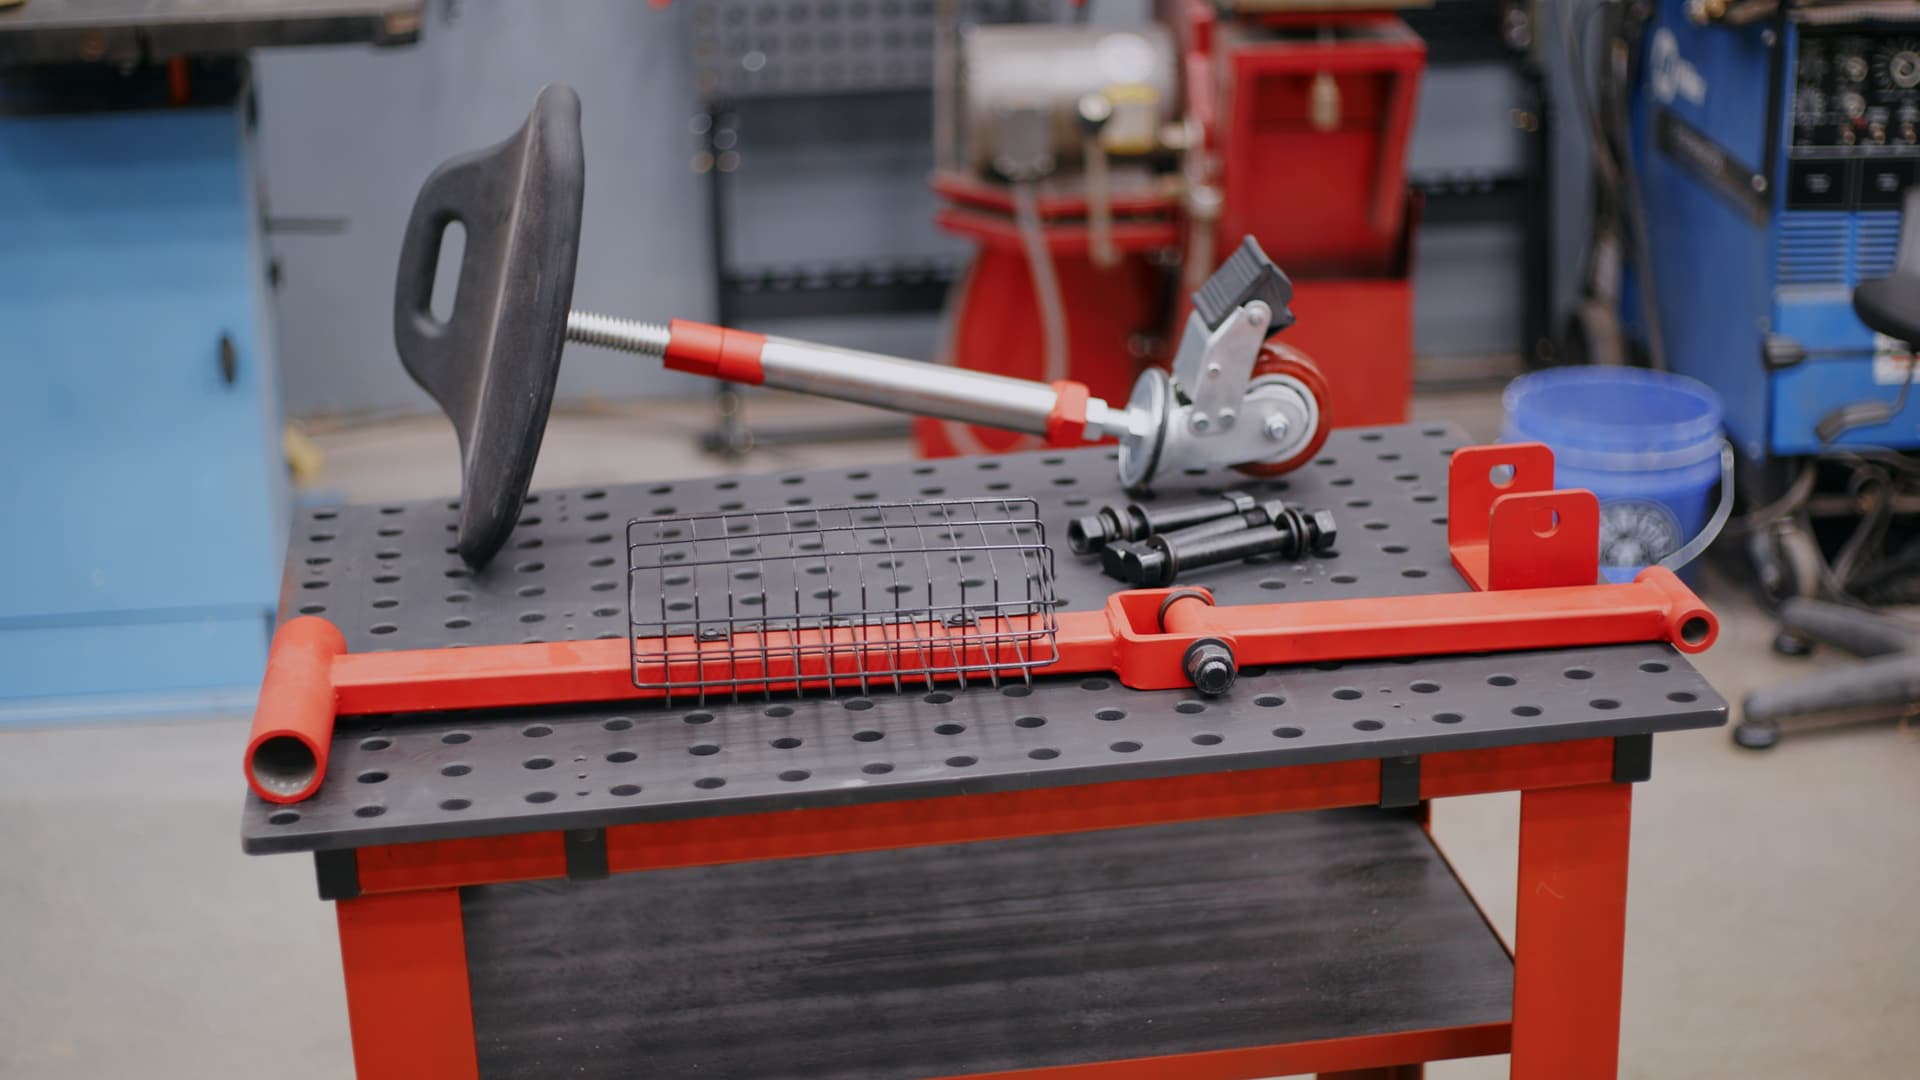
After that, I added the articulating arm and caster post.
It moves smoothly, adjusts for uneven floors, and best of all, it stays with the table.

The little storage basket on the side is perfect for keeping your gloves, tools, and odds and ends close by.

Once it was all installed, I was able to scoot around the entire table, hit the Sidekick Vise, and TIG weld comfortably. Compact, mobile, and functional.

I would’ve loved to have this setup when I first started out. The DIY kit is affordable, pro-quality, and has the ability to grow with you. Whether you’re a student, hobbyist, or just getting started in fab work, this setup will get you far and all the tooling that works with this table will still work if you move up to a bigger table down the road.
Got questions about adapting these accessories or mounting them to your own table? Drop them here in the forum.
Jason