I recently released a video where I had the opportunity to teach my son, Jett, how to use Fireball tools. Because he’s new to fabrication, we were able to break down all the steps in using the Fireball table system (and show how easy it is to use) in order to continue working on the Sci-Fi office railing.

Getting Started: Setting Up for Success
Our mission was to fabricate a section of guardrail, and to ensure Jett’s success, we needed to carefully plan and set up our workspace. The key is to identify and position all the necessary parts accurately. Jett’s new to the game of saw cutting, and precision isn’t guaranteed.

Fortunately, Jett has a few advantages: a fixture table and a fixture map. This fixture map leveled the playing field, and guided him through the setup process. I walked Jett through this setup, so we would end up with a perfect railing.

Extending the Table Surface
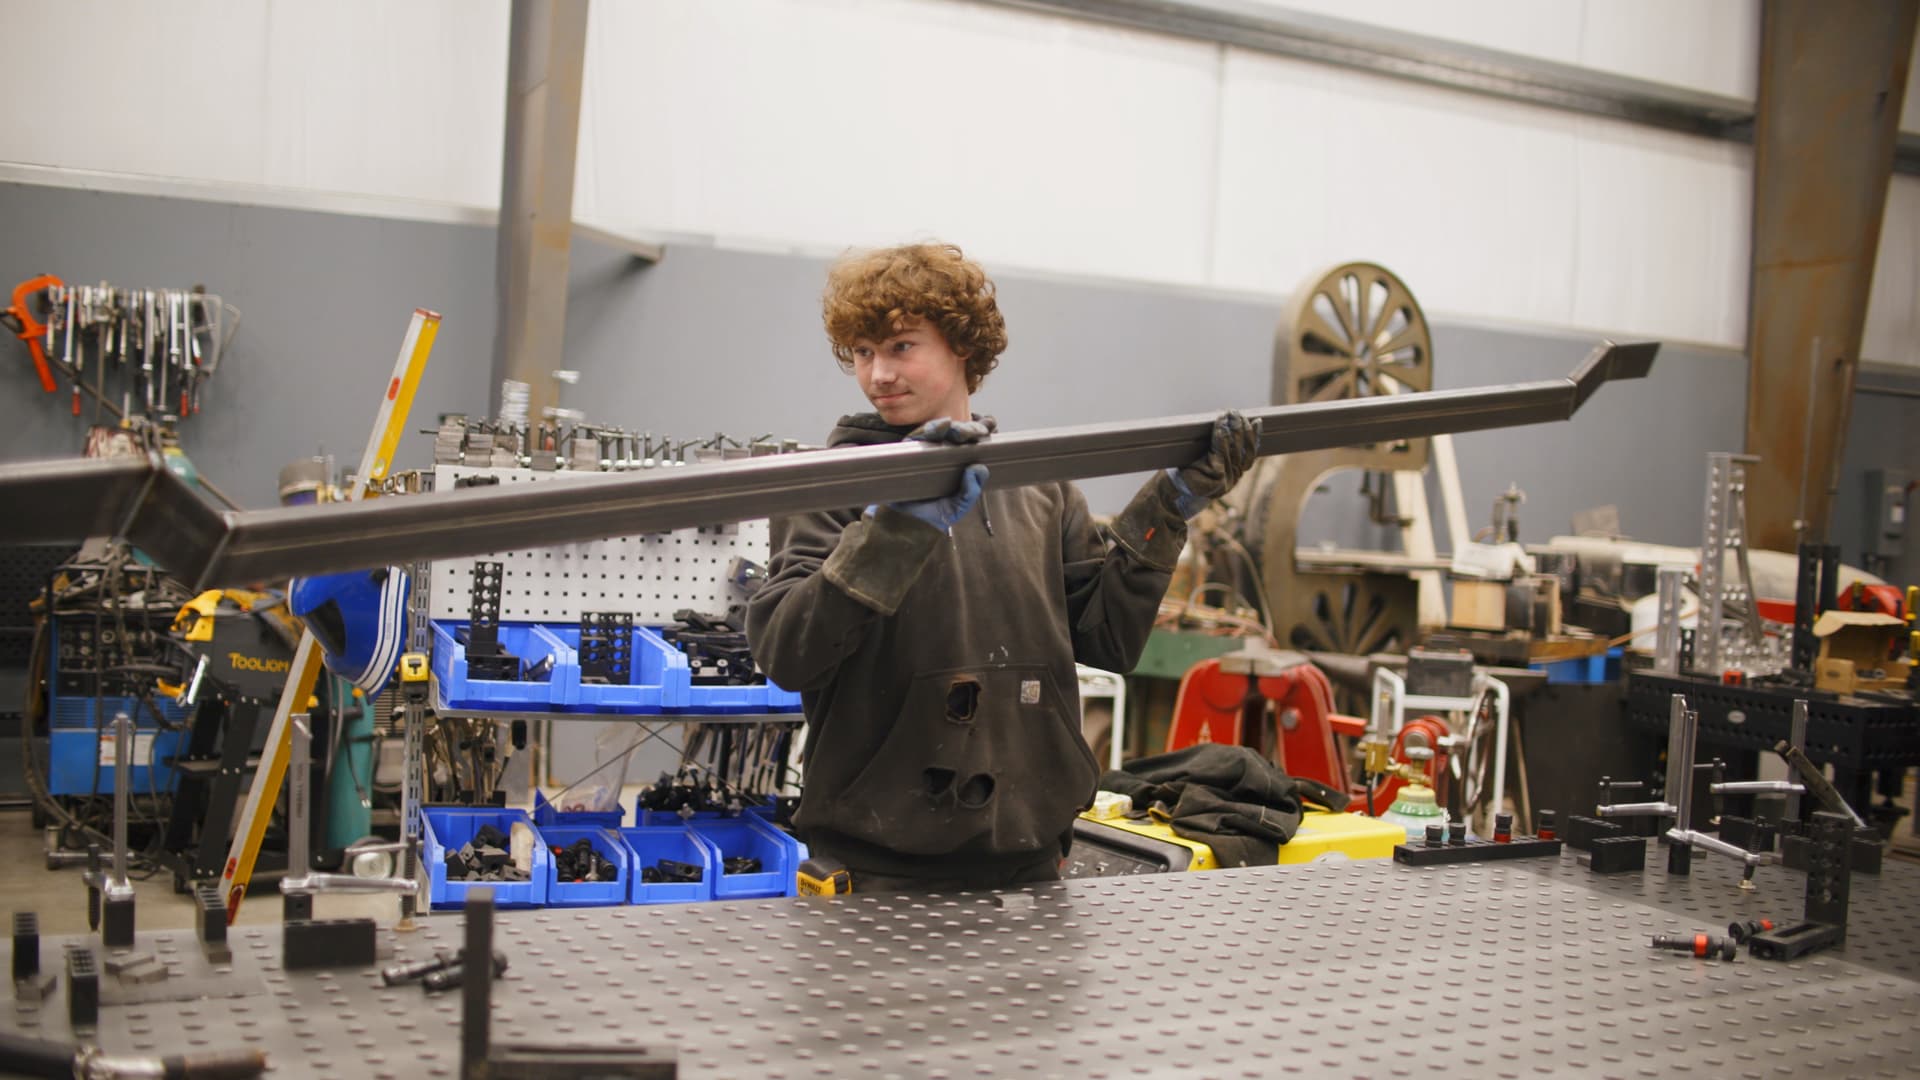
We began by tackling the most complicated piece of the project: the long section of railing. To accommodate this, we needed to extend our table surface using a Dragon Wagon. It was a perfect match in width to our main Magnum table.

Instead of our usual method of bolting tables through the sides, we used a top-down approach for this temporary setup. With the Dragon Wagon adjusted to match the height of the Magnum table, we were ready to move forward.

Using the Fixture Map
With our workspace set, we turned to the fixture map. This map included a coordinate system with numbers and letters corresponding to holes on the table. By following this system, Jett was able to place the fixture components accurately.

For instance, a fence block was placed at row four, grid B. Jett simply needed to follow the map to position these blocks correctly. This system simplified the process, making it easier for someone new to the craft.

Advanced Techniques: Using Tooth Blocks
Next up was positioning components that didn’t align with the grid, like our offset railing parts. For these, we used tooth blocks. Each block was adjustable by eighth-inch and sixteenth-inch increments, allowing precise placement.

Jett positioned these tooth blocks based on their specific coordinates and extensions, a task made easier by the fixture map. This system proved useful because it provided detailed instructions that most other fixture tables lacked.

Fine-Tuning and Adjustments
If Jett kept all the material directly on the table, there is a risk of it getting spatter on it, plus its more difficult to weld fully around the edges. Using magnetic shim blocks of varying thicknesses, he lifted the workpiece off the table, preventing welds from being short or sticking to the table.

Jett applied clamps carefully, ensuring they were placed over the shims to prevent bending. We inspected the alignment and made necessary adjustments, such as replacing a part that was cut slightly short. This process highlighted the importance of precision in fabrication.

Welding: The Final Step
With everything in place, it was time for Jett to start welding. I reminded him to ground the welder correctly to avoid damaging the table and to follow a specific welding sequence. This approach minimizes spatter and ensured the welds were solid and clean.

Jett’s work on the fixture table allowed him to focus on perfecting his welding skills without worrying about parts shifting. The fixture table held everything in place, so Jett could concentrate on making strong, accurate welds.

Reflecting on the Process
As we reviewed Jett’s work, it became clear that using modern tools like fixture tables made a significant difference, especially for beginners. Jett’s ability to focus on his welding skills, rather than worrying about part alignment, demonstrated the value of these tools in both educational and professional settings.

Looking Forward
The next steps involved moving blocks and finalizing the setup for the remaining parts of the railing. Jett’s confidence grew as he followed the fixture map, and he was excited to see the finished product.
For educators and learners interested in fabrication, fixturing, and welding, I offer a series of videos to support their curriculum. I invite everyone reading this to continue the discussion, keep asking questions, and we will continue to learn more about fabrication together.
Jason