I placed an order this week for a 54" x 30" Dragon Wagon. I was curious if anyone has used the 14" Cast Iron Tower Blocks as table extension yet on the Dragon Wagon?
It looks like the table extension was designed for use with two pins in each slot for mounting, 4 pins total. The Dragon Wagon only has the one pin hole on edge, 2 pins in total. Maybe a lighter weight version could be made for the Dragon Wagon?
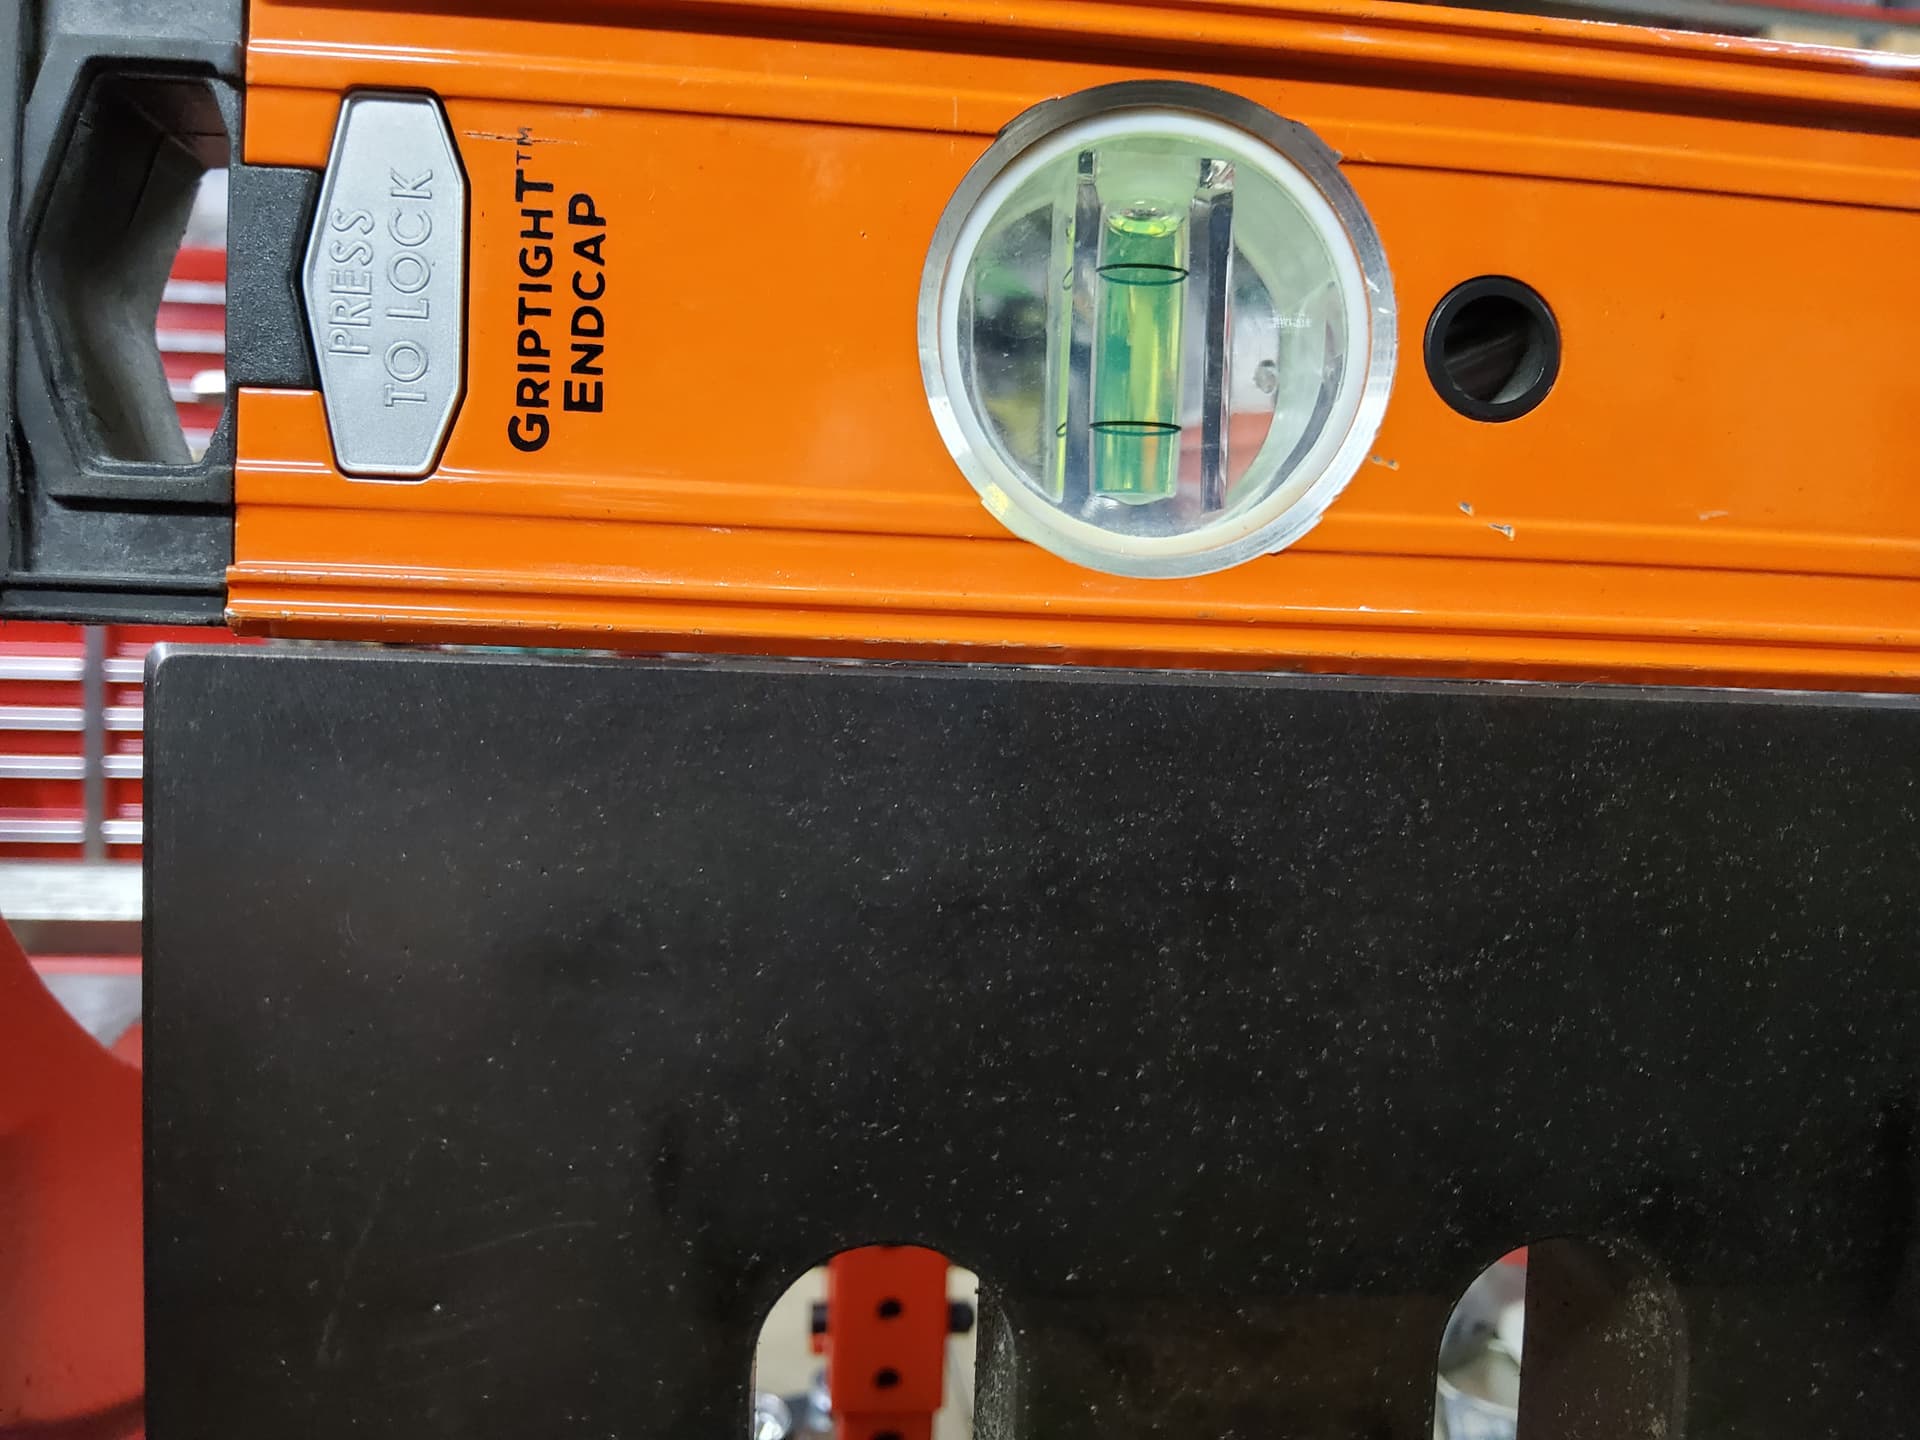
Fits great, as I had hoped when I ordered it. There is some sag, or minor angular imperfection in the fit up. I measured the gap at the end of the extension at .013" with a feeler gage. A single layer of aluminum foil as a shim under the bottom edge of the bolted faces reduced the gap to .006", so a double layer will effectively level my extension block out perfectly.
@mRhAnKbOt thanks for the pic of your use of the tower block, neat to see how others are using them. A question though: what are you making with the tab & slot parts, particularly the big stack in the center right of the photo?
No problem, I needed to set the block up in that configuration anyway for the project you asked about.
I need to make a new welding cart to fit all the welders now that the vise and tables dominate the center of the garage and I have a new welder that doesn’t fit on my old welding cart (you can see the back of it on the left of the top down pic of the table). The couple thick parts are the plasma cut caster mounting plates (so I can tap the holes), and the big stack of parts are corner braces. The theme of the cart is 3/4" holes in honor of all the new 3/4" table stuff. Gives me lots of places to store a clamp or fixture block if I need to get it off the table temporarily.
I have a really minimal amount of space in the pocket along the wall for the cart so I need to make the frame out of the smallest tubes I can get away with and brace the crap out of it so it’ll hold 600-700lbs worth of welding gear once everything is loaded on it and still roll around the shop and out into the driveway if needed.
Good looking cart Henry. You could call it the 3/4 cart given your theme and desire to save space! I’m assuming you planned the cart in CAD, where then did you send the drawings to for cutting? Laser or plasma? Don’t mean to be nosey, but I am interested in how folks make things.
First side being welded up. My hand is messed up, so ironically I’m using the TIG welder to put it together because that’s easier than moving everything out of the way of sparks and spatter under and around the tables. Underside of the outer rectangle is already welded.
Regular hex bolts or shoulder bolt can be used to combine the tables. Fireball has bolts to combine tables If you want also. Just make sure to get the correct length bolt for your application Connecting Bolt - 3/4" System
Ive seen a pic of your dragon wagon with a much smaller shelf than is in the kit, but i cant seem to find it on your webite anywhere! I really like it!!
I think you’re confusing our tray that sits under the table to protect objects from hot debris falling through the holes as a shelf. The shelf shown in the image is the only shelf available. It’s modifiable if you want though.
When using multiple Dragon Wagons, do you find that the holes from one table to the other table remain square and true?
In other words, if you fixture a square/rectangle; 2 corners on one table and 2 on the other that you can get a reliable 90 degrees at each corner? I realize the platen tops need some leveling but wondered if the holes from one table to the other automatically align when connecting 2 tables? Thanks
Can the [Cast Tower Block (28" x 5" x 8") - 3/4" System] suspend from the Dragon Wagon single hole" side row" without issue? or is there too much leverage?
Thank you