Today, I’ll show you how to combine two 24x36 DIY tabletops to create one large surface. It’s easier than you think.
Here is the video:


In case you missed it, we already built a 24x36 table in a previous video, so I suggest watching that first since we’ll cover similar steps.

First, you’ll need sawhorses or a flat floor to start with.

To create a flat surface, we’ll build one using 1x2 tubing in a triangular shape.

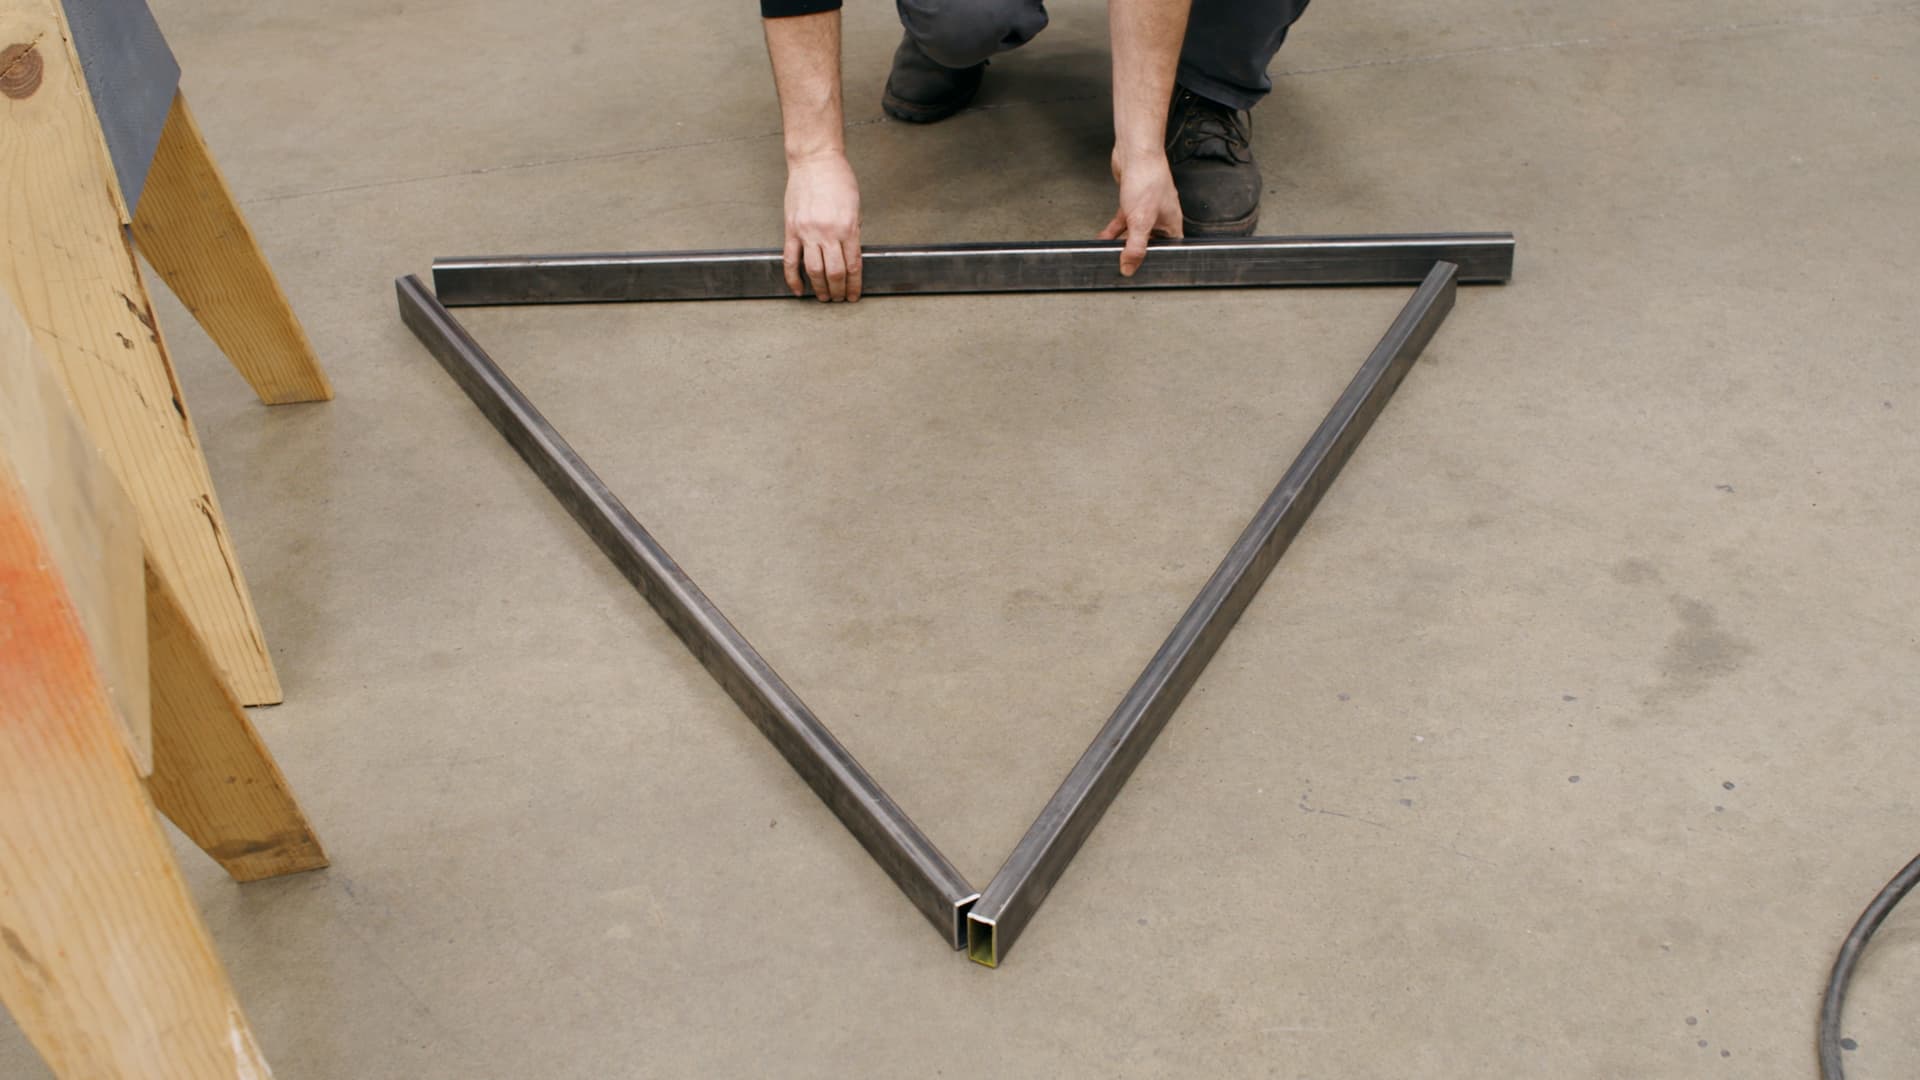
Check the material for any bowing, but all of mine are straight. We’re just going to make sure the tips are level. This scrap material is reusable, so no waste.
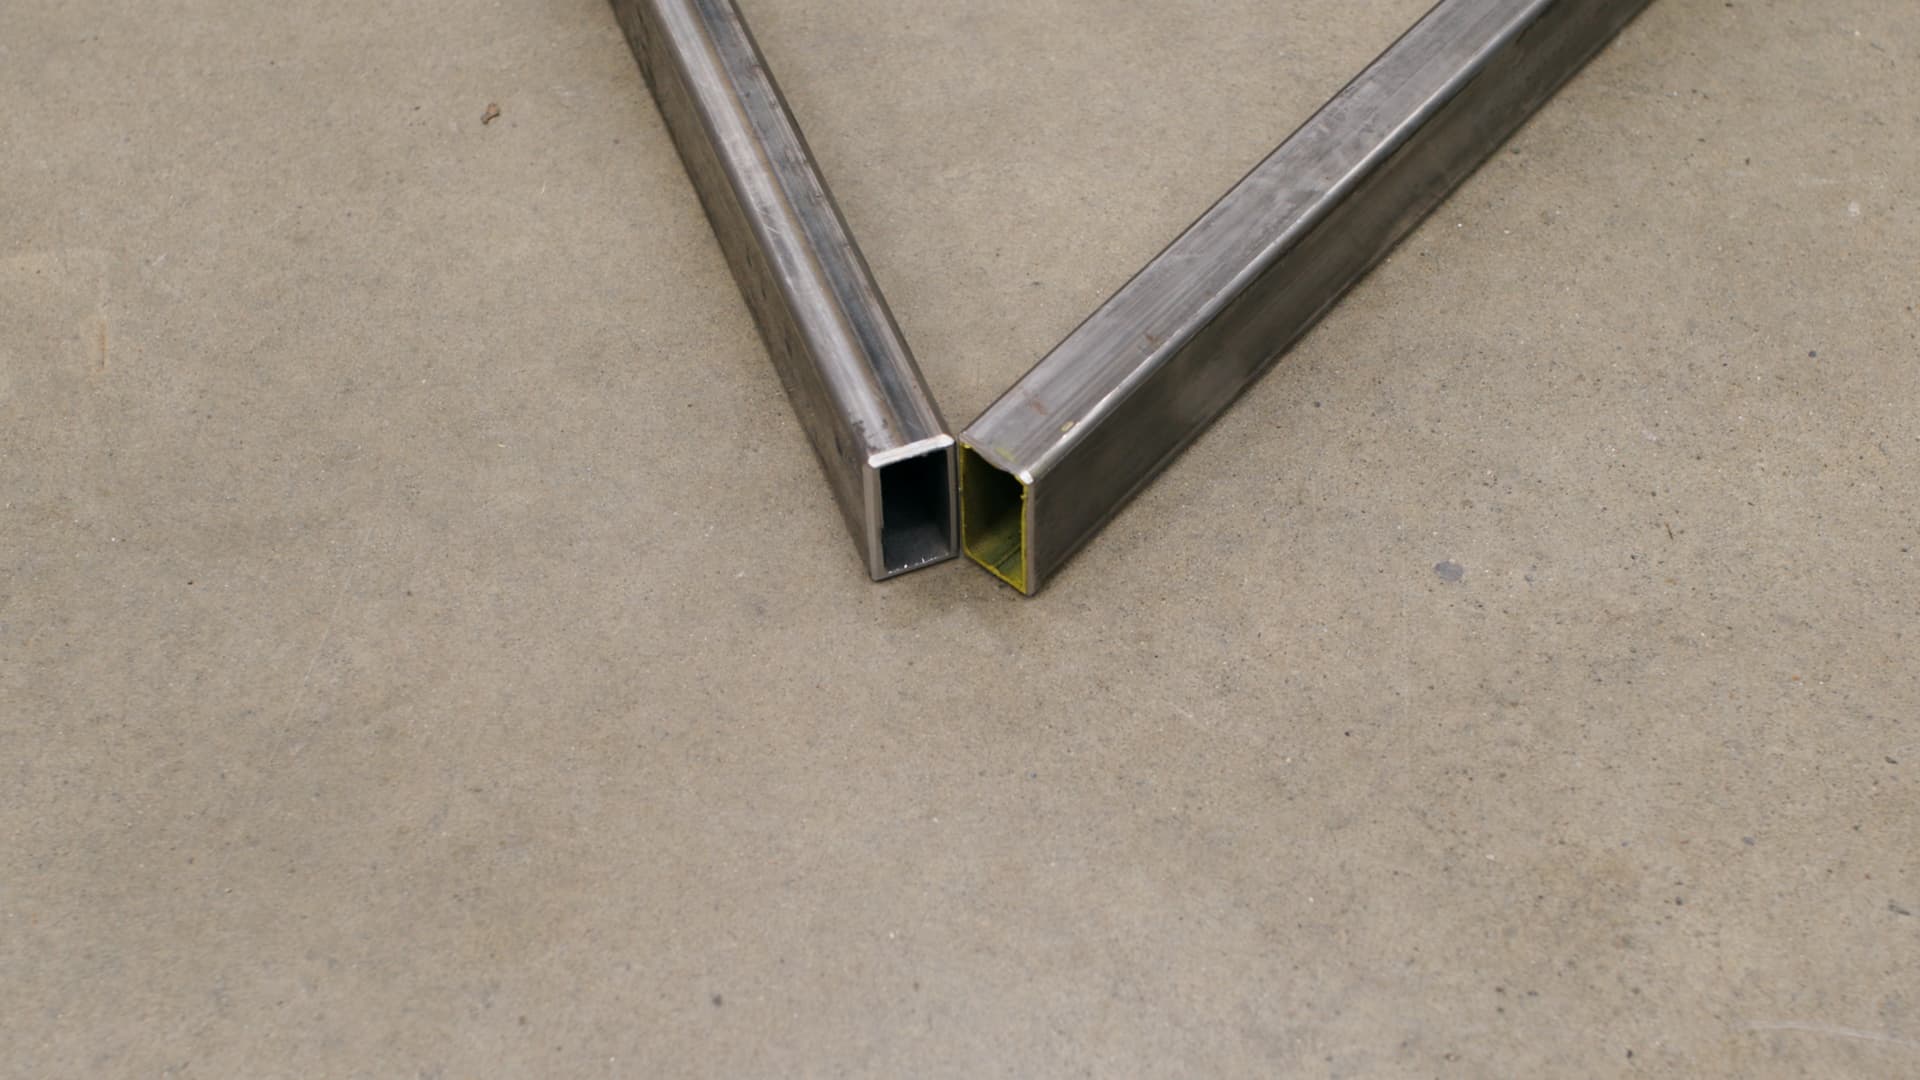
Tack the triangle together.


Now, we have a perfectly flat surface. We can lay stringers or 2x4s, but we’ll leave it as it is for now—flat and ready for leveling.

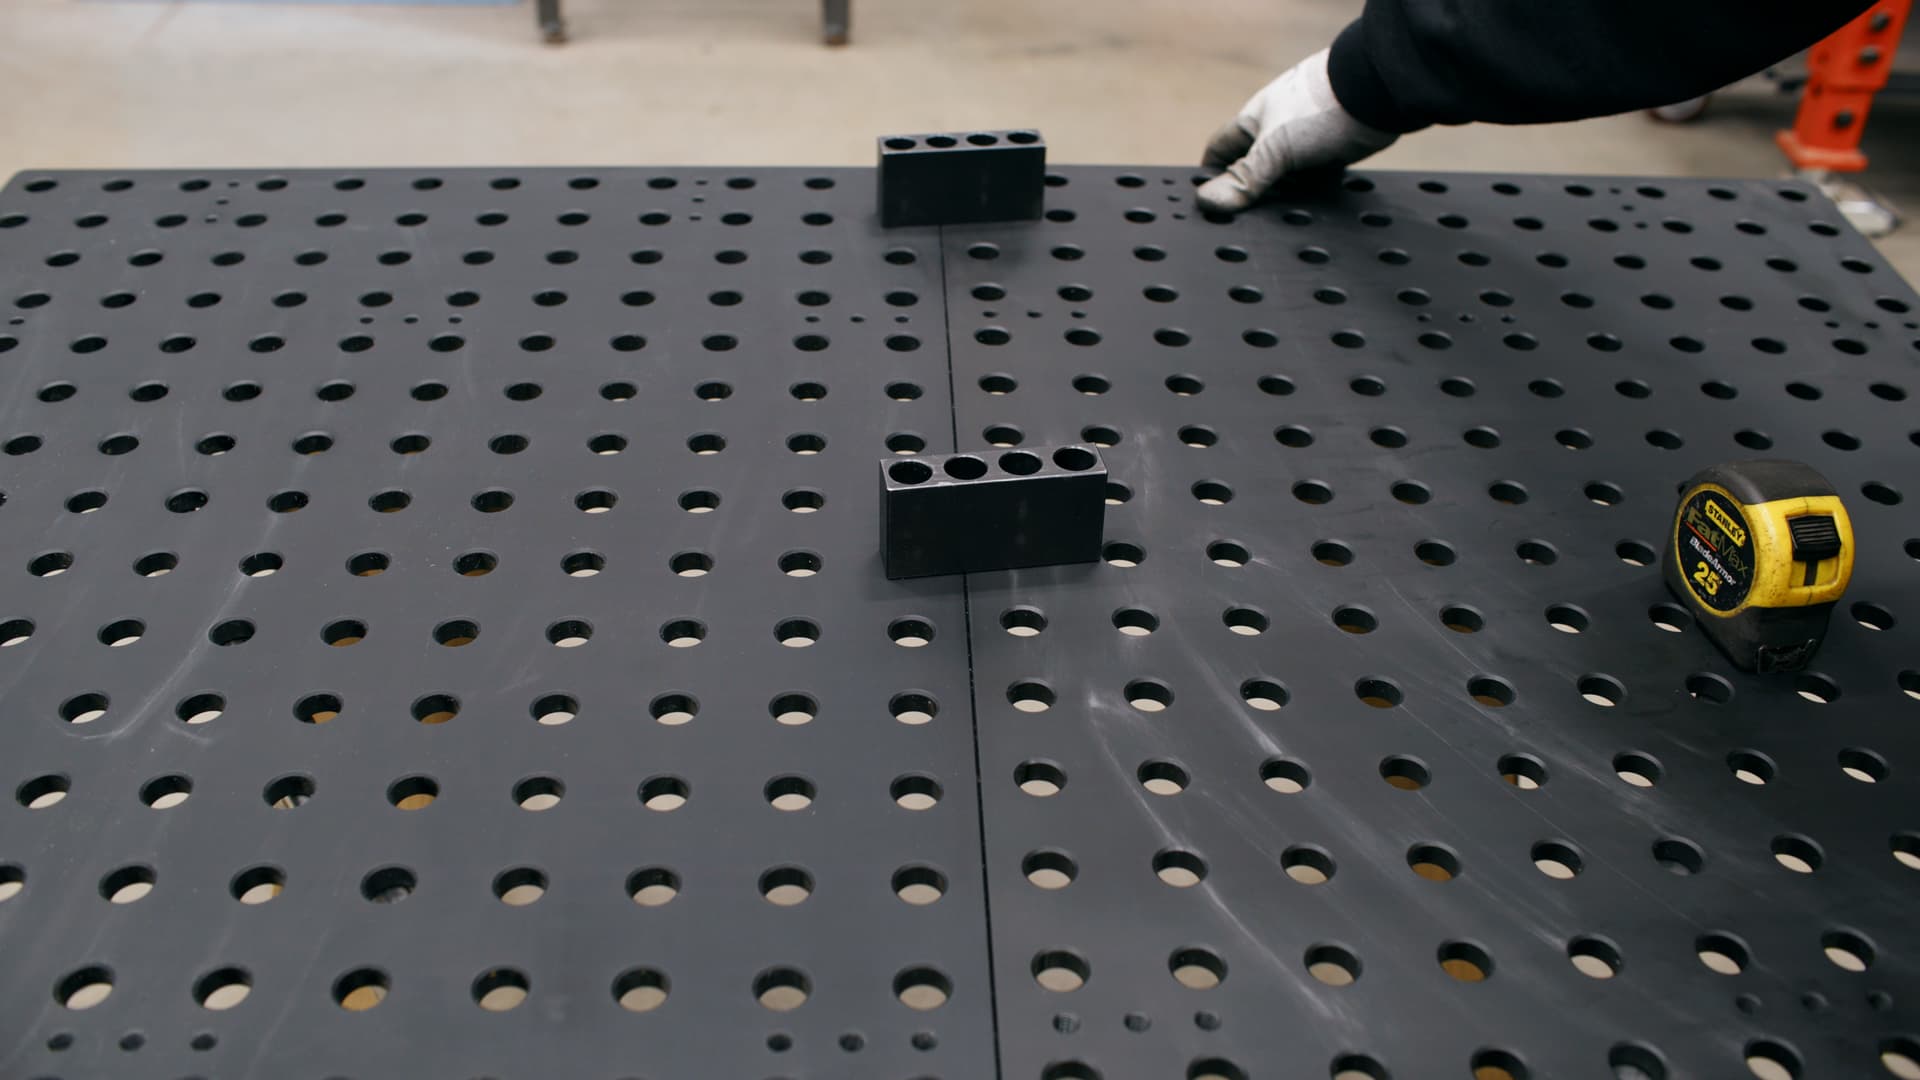
Next, bring in the plates and get them aligned.


These plates are undersized so that they can be combined. There is going to be a little gap when combining them.


We’ll use fence blocks to set the plate distance.

As you can see, there’s a slight gap, so make sure the plates are straight using a straight edge.

Once everything is aligned, it’s time to build the frame. I’m using the provided frame kit.


The short pieces aren’t necessary for this double table setup, so I’ll cut custom pieces to 45 inches.

Now, let’s assemble the frame. We’ll add straps to keep everything loosely together for adjustment.


Use the fence blocks to ensure alignment, and tighten the clips to keep things in place.


Also, make sure the ends of the tube are aligned.


We’ll double-check that everything is leveled. If you need to shim it, try using some folded pieces of paper.


Now that the frame is in place and leveled, we can tack the frame and prepare to add the legs.


I’m using a 3x3 angle iron leg kit, cut shorter for a sitting-height table. Check out the previous video for more details.

Attach the legs just as we did in the previous video, and use a 3-axis square for faster, precise alignment.


Weld the legs in place, and repeat for all corners.


Now for the leg braces. The angle iron pieces may not fit because of the double table setup, but I’ll repurpose some scrap 1x1 tubing to create an H-pattern brace, which I think will look great.


After measuring and cutting, I’ll weld the braces into place.


Make sure the bottom and top distance of the table are the same, if not you might need to use a wedge and hammer it in place.


For the center support, we need to ensure everything is square and secure. I’ll be using the Fireball Mega and Mutant square to confirm alignment.


Tack it into place and weld it up.


After welding, it’s time to lift the table—preferably with two people—but I’ll do it alone for this demo.


Once it’s up, I’ll weld the fillet joints and clean off any spatter. Avoid welding the top of the frame.


In the previous video to clean the metal surface. You can use acetone, brake cleaner, or mineral spirits to remove dirt and grease.


Then, choose whether to powder coat or paint. I used a gray primer to seal the surface and you can choose whatever color of paint you want for your table.


Let it dry and now you’re ready to put the plates on the frame.


We’ll start by inserting the grub screws and reattaching the clips, however, leave them a little loose.


These screws will allow us to calibrate the plates. You’ve probably noticed that your frame underneath is either warped, twisted etc. We’ve accounted for that with these grub screws.


Use a straightedge to make sure everything is straight across. If necessary, adjust the screws to flatten the plates.


Once aligned, snug up the straps by hand—don’t over-tighten them.

Ensure the plates are flat and level, then do a final check to confirm everything’s straight.

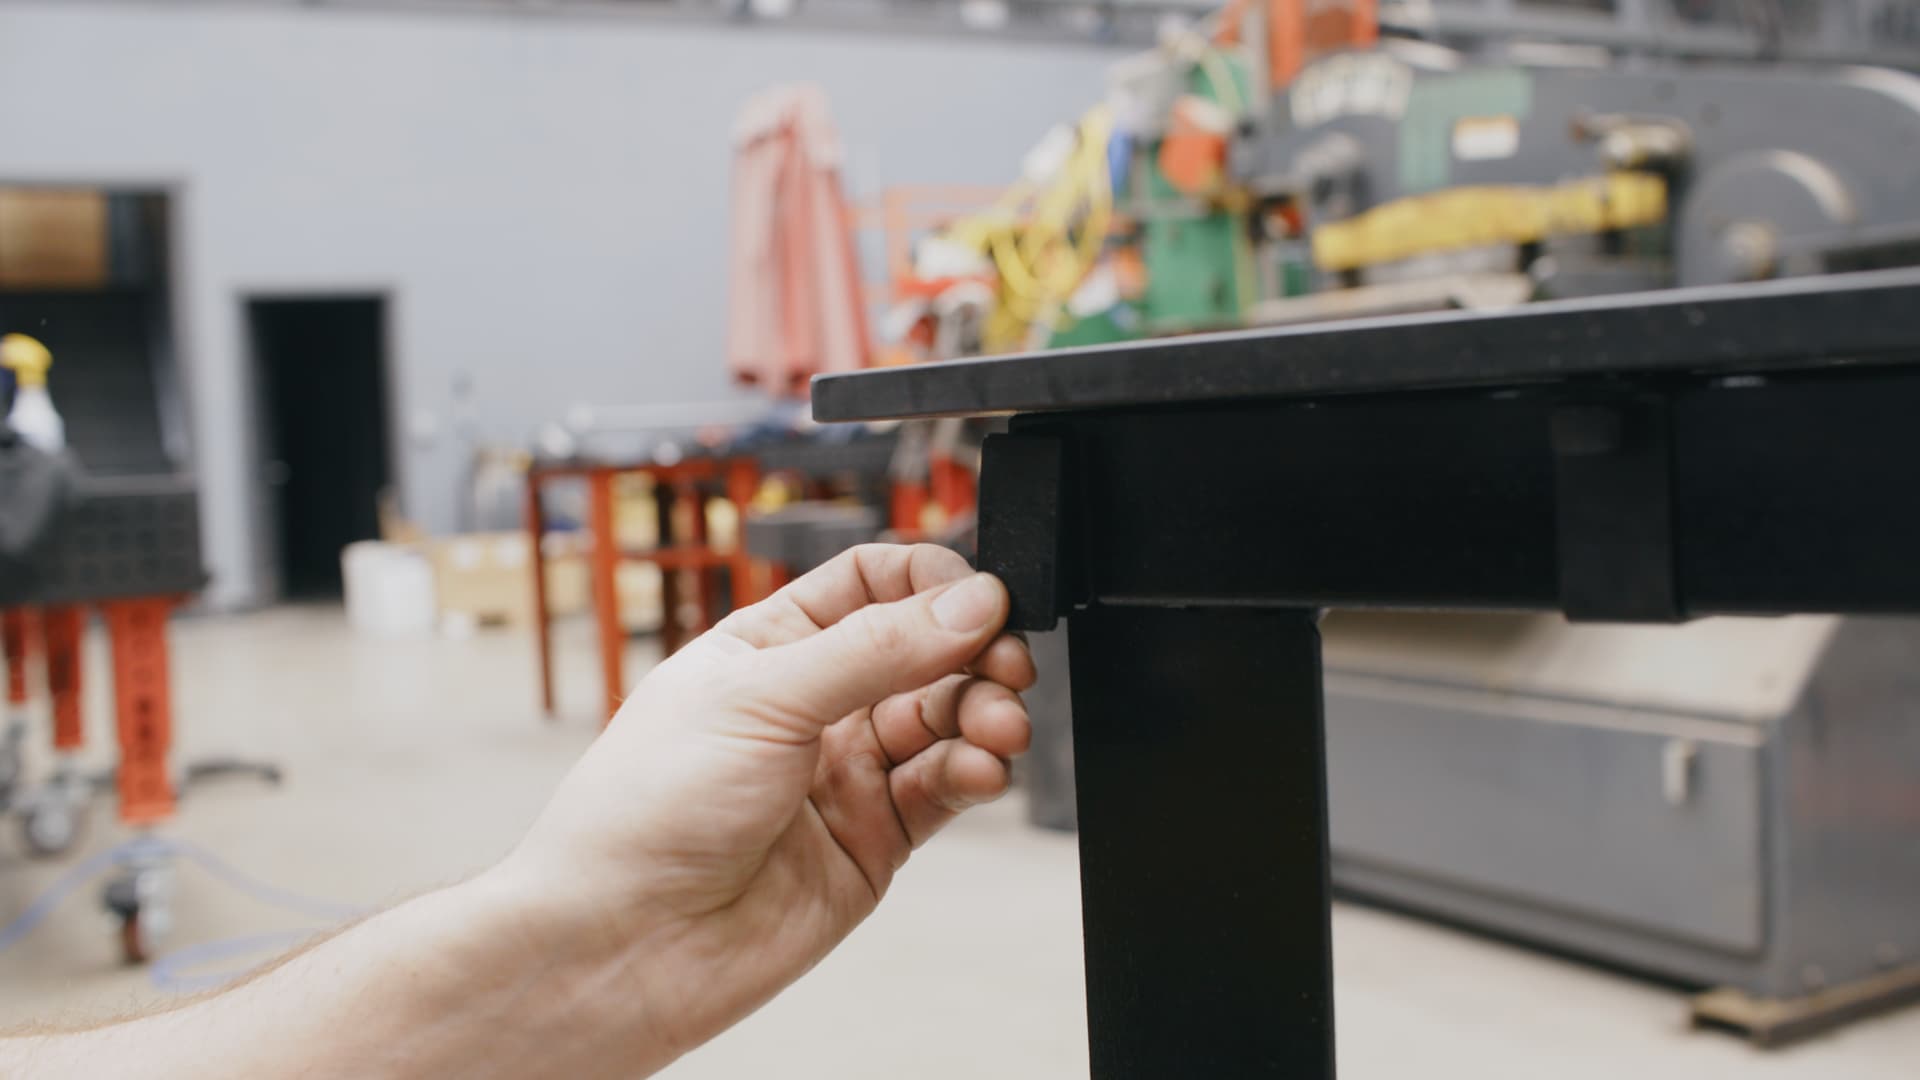
Finally, add end caps for a clean finish.


Give your table a final wipe and now you’re ready for use!


Flat, sturdy, and great for sitting or standing work.


If you have any questions, feel free to ask here at the Fireball forum. We’re happy to help!
